Ports Required for America's Army
TCP: 14200, 20025-20048
UDP: 1716-1718, 8777, 27900
This is From Blannick, one of the earliest players of the game.
(Some modifications to this by Dodge such as links and layout )
Before anything, it is essential to know how to set up your FIREWALL and your ROUTER.
Many problems to run a LAN server come From a bad setting of firewall and router.
Because of different firewall programs and different routers I wont explain here how to do it.
You can refer to the firewall user manual (or help) on your computer/home server and to the site PortForward.com to learn what to do with your router (you must open ports on it).
portforward.com/english/routers/port_forwarding
If you have problems with that or if you are experiencing any difficulties to set them, feel free to ask for help on this site.
Now how to set up an America’s Army game server.
Since more than a year, AAO is not supported by developper. Then there are no more official servers.
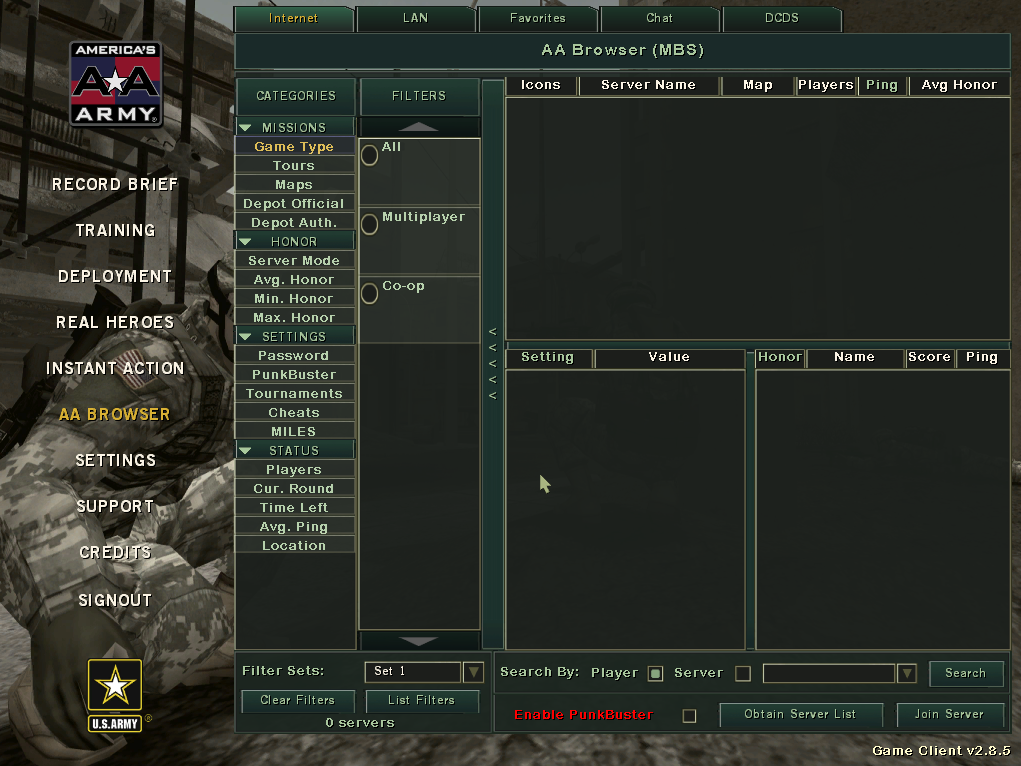
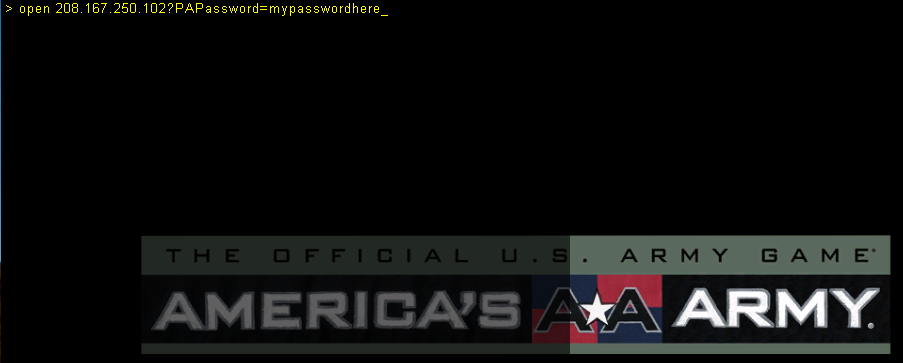
Only LAN servers are running AAO game. ( To learn how to join a server : http://dodges-community.net (use menu and choose faq) )
There are 3 ways to run such a server :
1- Some providers still rent non-honor (or LAN) AA2.8.5 servers (follow their instruction)
2- You can use America’s Army Server Manager (AASM) to install a server on your computer/home server.
3- You can use files included in America’s Army system folder to set your server.
.
.
.
IMPORTANT NOTICES AND THINGS TO UNDERSTAND BEFORE DOING ANYTHING:
.
.
A) Always make a backup of a file you want to modify before doing anything.
B) After installation of a AAO server on your computer/home server it is important to allow AAO server program (server.exe file) through your firewall AND your router.
If you don’t authorize that program on your firewall and don’t open ports on your router then nobody will be able to join your server, not even you. The server.exe file is in AAO system folder.
C) Don’t forget to register your server on web sites (server tracker) like GAMETRACKER (https://www.gametracker.com/) or Dodges Community (http://Dodges-community.net).
If not registered on them, nobody will know your server is online.
D) When the server setting is done you must install custom coop maps in the maps folder (see download links on this web site) and modify tours.ini file to run all those maps.
(see the topic « Tours.ini GENERATOR for server admin »)
E) Don’t be shy to ask someone who knows how to act as admin on a server if you haven’t been admin on a server.
.
.
.
AMERICA’S ARMY SERVER MANAGER (AASM)
.
.
Here is a link for a guide that well explaines how to set up a server with AASM : (copy and paste link in your browser if necessary)
Getting_Started_with_AA_Server_Manager
When running installation do not select “Tournament setup”. Instead of that select “Standard play setup” and follow instruction to setup a LAN server.
AASM is not a server program. This is a tool to set and to start a server.
AASM setup files and config files are not the same files used in America’s Army program to configure a server (server.ini).
AASM setup and config files are not located in the “system folder” of AA2 program but in “My document” in Windows and in “Server setups folder” in AASM program.
A new topic will be written if necessary to explain how to manually modify some parameters in AASM setting (how to increase round time, to change starting map, to modify InitialWarmupTime, etc).
Next section can also help to understand what can be done in AASM setup and config files to change those things.
.
.
.
AMERICA’S ARMY SERVER FILES
.
.
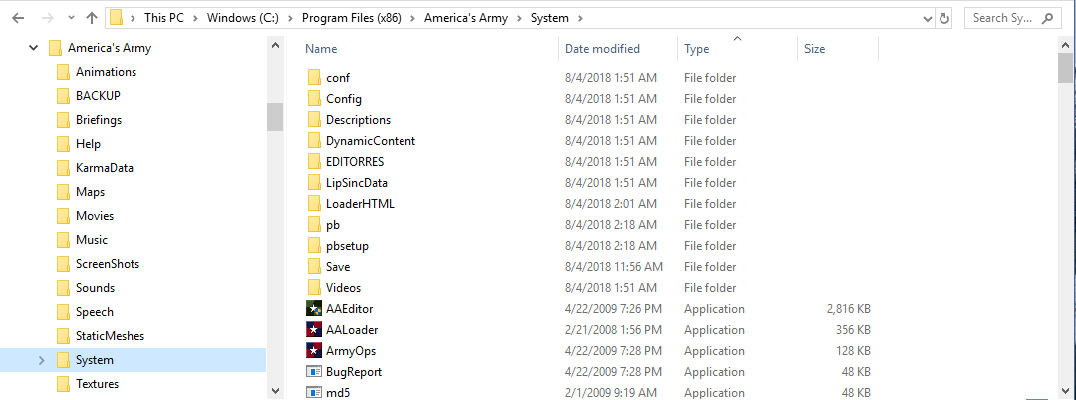
Files used to set up a server are located in the “system folder” of your America’s Army program.
Those files are Runserver.bat and Server.ini (or ArmyOps.ini).
First of all
make a backup (copy) of those 3 files.
_______________________________________________________________________________
STEP 1 : the file “Runserver.bat”
This file is used to start the server. To open that file right click on it and select modify file. Scroll down until you see at the bottom the following line (or something like):
server.exe GLOBAL 16essborder.aao log=server.log ini=server.ini
Change 2 things in that line: 1- the word “GLOBAL” by LAN and 2- instead of “16essborder.aao” for starting map name write the map name you want to start the server with :
Ex : server.exe LAN Interdiction.aao log=server.log ini=server.ini
When you will start your server it will run the map you selected….on a LAN server!
It is very important to have the exact or same file name. For that refer to maps name in your maps folder.
– Save file.
_______________________________________________________________________________
STEP 2 : Which file for “ini” file: “Server.ini” or “ArmyOps.ini”
Now you have to choose the “.ini” file of your server : server.ini or ArmyOps.ini.
Both can be used but on my side I prefer content and presentation of ArmyOps.ini.
Select in your Runserver.bat the file you want to use as “ini” file and type its name at the end of the line:
server.exe LAN Interdiction.aao log=server.log ini=server.ini
OR
server.exe LAN Interdiction.aao log=server.log ini=ArmyOps.ini
If necessary, save again Runserver.bat file.
_______________________________________________________________________________
STEP 3 : File to start the server
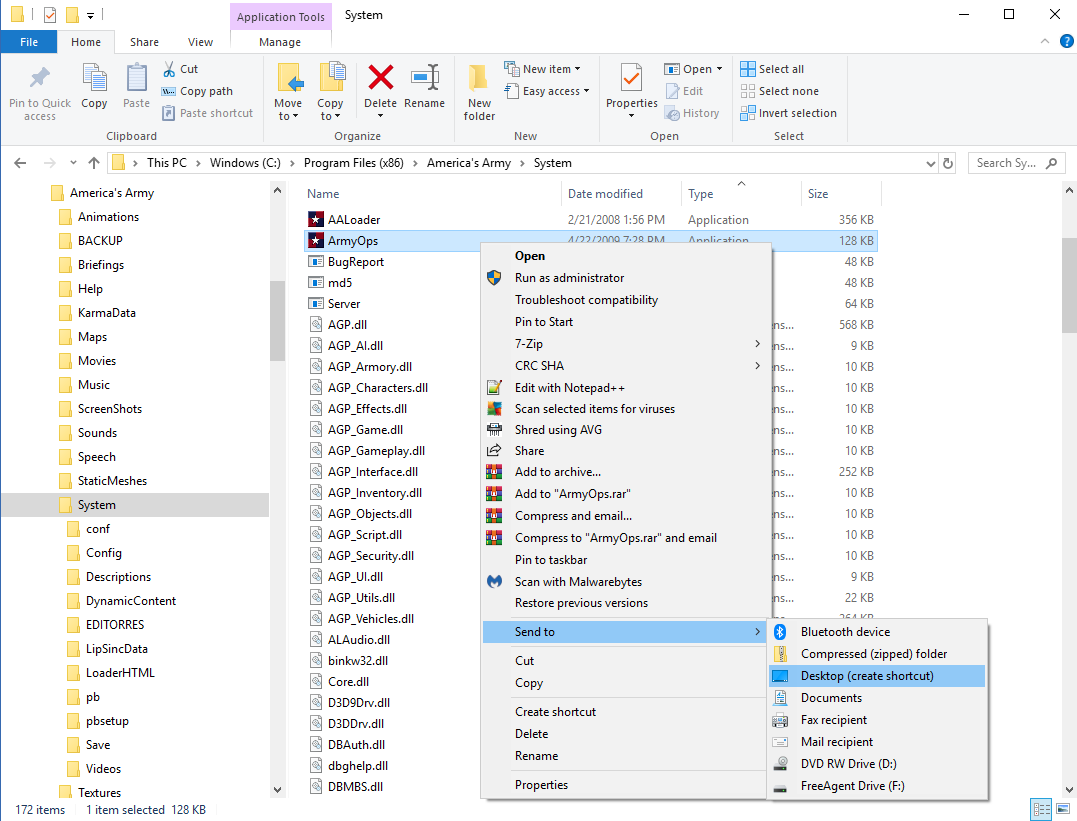
Right click on your Runserver.bat file and create a shortcut on your desktop or elsewhere you want to have it.
_______________________________________________________________________________
STEP 4 : How to set up the server (Main parameters to set in “ini” file)
Right click on your “.ini” file and select open file. You can also double-click on the file.
We need now to modify some parameters in that file. Lines we need to change are the following:
If you want to activate/desactivate a line then delete/put a semicolon ( ; ) in front of the line.
[url]
Port=1716………=> Default listening port. Can be changed for other ports like 1916, 2016 …..
[engine.accesscontrol]
AdminPassword=…………………=> Leave blank
GamePassword=…………………=> Leave blank or write a password to make your server private
PlayerAdmin=……………………=> Write SomePlayerName + playeradmin password (example : AAOfan,liketoplay)
…………=> Always put a comma and no space between name and PlayerAdmin password
;PlayerAdmin=……………………=> Keep ; in front of a line with no name
[engine.gameinfo]
MaxSpectators=2………………=> Indicate the number of spectator you authorize on your server
MaxPlayers=16…………………=> Maximun number of players on the server (your choice)
MaxAdmins=2……………………=> Maximum server admin on the server at the same time (your choice)
…………………………………………=> Other admins over that number can’t joint server with admin status
………………………………………=> They will only have player status
TimeLimit=45 ……………………=> Time (minutes) for a round. => 0 = no countdown
[ipdrv.gamespyqr]
bNAT=True
;IP=1.2.3.4…………………=> Delete ; in front of ‘IP=1.2.3.4’.
……………=> Write your web IP (if no router) or your network IP (with router).
……………=>…………Ex: 48.172.37.44…………Ex: 192.168.0.101
[agp_gameplay.agp_gamedeathmatch]
InitialWarmupTime=30……=> Delay (seconds) between every round (don’t use less than 15 or over 45)
RoundsPerMatch=10……………=> Your choice here
[agp_gameplay.agp_gamemultiplayer]
bRequireAuthorization=True……=> Change it for False to run LAN server
bMPCheatsEnabled=False………………=> Change it for True if you want to activate Cheat mode on server
[agp.agp_gameinfo]
bOpenAllWeaponClassSlots=True……………=> To have all slots on the server available for players
[engine.gamereplicationinfo]
ServerName=Another ArmyOps Server……=> Write server name
ShortName=ArmyOps Server……………………=> Write server shortname (or write same name)
AdminName=……………………………………=> Server owner’s name
AdminEmail=……………………………………=> If you want players contact you
MessageOfTheDay=…………………………=> Leave blank
MOTDLine1=Welcome to America’s Army…=> Welcome message on the server
MOTDLine2=
MOTDLine3=
MOTDLine4=
MOTDDisplaySeconds=5 =>………………………=> Set 5 to 15 seconds maximum
[dbauth.dbauth]
GameServerIP=xxx.xxx.xx.xx………=> Must be your internet IP (no router) or your network IP (with router)
[dbauth.authorizeserverrequestadapter]
;ServerAuthUsername=……………=> Set ; in front of
;ServerAuthPassword=……………=> Set ; in front of
_______________________________________________________________________________
STEP 5 : SAVE YOUR WORK!
You are now ready to run a LAN server with your “Runserver” shortcut. Don’t forget your firewall and your router!!!
If any problems, leave a shout.
Now have fun!
An easier way to create a lan server is to use OBAN's AA Server Browser which is found in our menu under AA2 Install.


